2ヶ月くらい前に IchigoJamを手に入れて、早速タミヤの昆虫ロボットに載せてがらくたを作りましたが、その後、IchigoJamはファームが日々改良されて、色々機能も増えたりしているようです。その中で、昆虫ロボットを作ったときにはアナログ入力が1chしか使えなかったのが、今は2ch使えるようになっていて、このアナログ2chを活かして何かできないかなぁ?と思っていたんですが、なかなか手を動かせずにいました。先日、
アマゾンを「ロボット 工作」とかで検索して徘徊していたとき、前回の昆虫ロボットと同じ
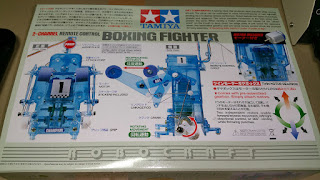
タミヤのロボクラフトシリーズで「ボクシングロボット」というのを見つけました。面白そうなので、早速ポチって、これにIchigoJamとセンサ×2の組み合わせを考えることにしました。
センサは前回と同じPSD測距センサです。前回は一つだけで手前にものがあったら避ける動作をさせましたが、今回は手前にあるものに向かわせる動作を左右に2つのPSDセンサを使って、やってみようと思います。
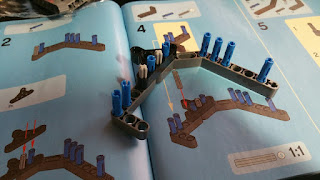
まずは、タミヤのROBO CRAFTシリーズのボクシングロボット(Boxing Fighter)を開梱。
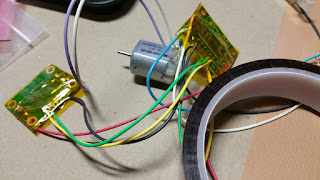
説明書に従って組み立て・・・の前に、いつものDRV8830 I2Cモータドライバをモータに取り付けます。ロボットのボディ内部に余裕があるので、モータドライバ基板は絶縁テープで巻いて、ボディ内に入れてしまいます。
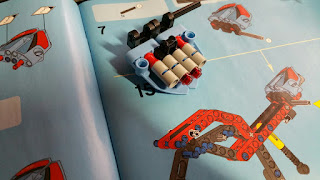
モータにノイズ用のコンデンサとドライバへの配線をはんだづけしてギアボックスに取り付け。
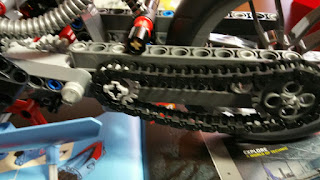
あとは、組み立て。本来リモコンと繋ぐ線を出す切り込みから、電源、GND、I2CのSDA、SCLの4本の線を取り出しています。
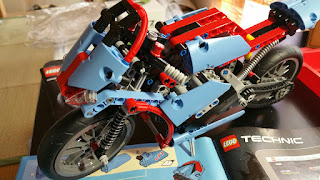
形ができたところで、前回の昆虫ロボットからIchigoJamを取り外して、
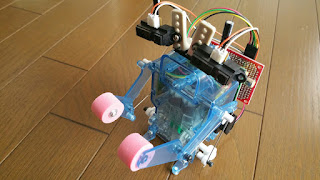
ボクシングロボットの背中にIchigoJamと単3×2本用電池ボックスを取り付けました。
それから、頭の上にPSD測距センサを左右斜めに向けて取り付け。
コネクタを差すために簡単なドータボード(シールド)を準備しました。
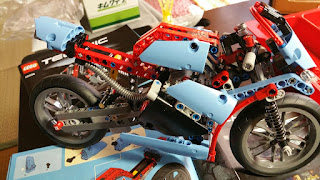
できあがり。
この時点ではPSDセンサは縦置きにしていますが、実際に動かしてみて、調整した結果、最終的には横向きに取り付けることになりました。
プログラムを入れて実際に動かしてみたところ、センサは横向きであまり左右に斜めにしない方向で落ち着きました。
ボクシングロボット対博士。
動かしてみたところです。ロボットの左側の足が右側に比べて接地が悪く(短い?)、左方向へはすぐに方向転換できるのですが、右方向へ向くのに時間がかかってしまいます。
以下、ソースです。